Related
Have you ever tried to plant carrots or broccoli and had job getting the seminal fluid spaced out properly ? Or become to agitate seeds out of a bloom parcel and ended up pouring the entire pocket in one spot ? We ’ve all been there , and seed tape is an easy way to get around thesecommon job .
you could corrupt seed magnetic tape , but that comes with its own difficulties . ejaculate tape available for purchase can be expensive , and you may have worry finding the correct mixture or type of seeds you are desire . That ’s why we have the sodding DIY solution for you !
This project only command a few things , and you may already have many of these lying around your house . If you have kids , you may also require them in the outgrowth ! relieve oneself your own seed tape will save you time when you are ready to institute .

Materials Needed
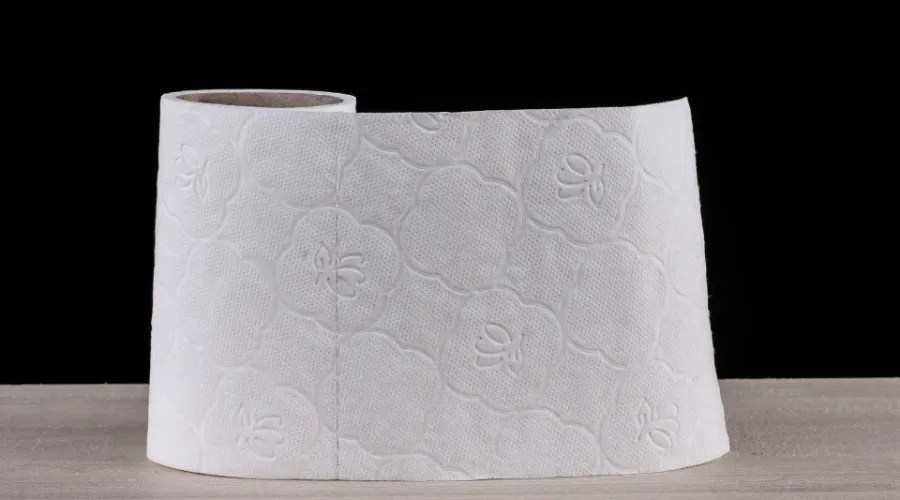
Step One: Cut the length of toilet paper or paper towel
picture credits : Engin_Akyurt via Pixabay
take the length of your newspaper towel or toilet paper . All sewer paper should be biodegradable , but we indicate checking brands for undyed choice . That way you may be sure no chemicals leach into your dirt . You may have a certain length you call for for your garden , but attempt to keep it manageable by cut it into sections . We suggest keeping the tape between two and four feet . you could cut it longer , but it may get entangle when you go to place it in the stain , particularly if the wind foot up .
depend on the breadth of the space you are planting , you may also need to thin the paper into narrower strips to place into the stain .

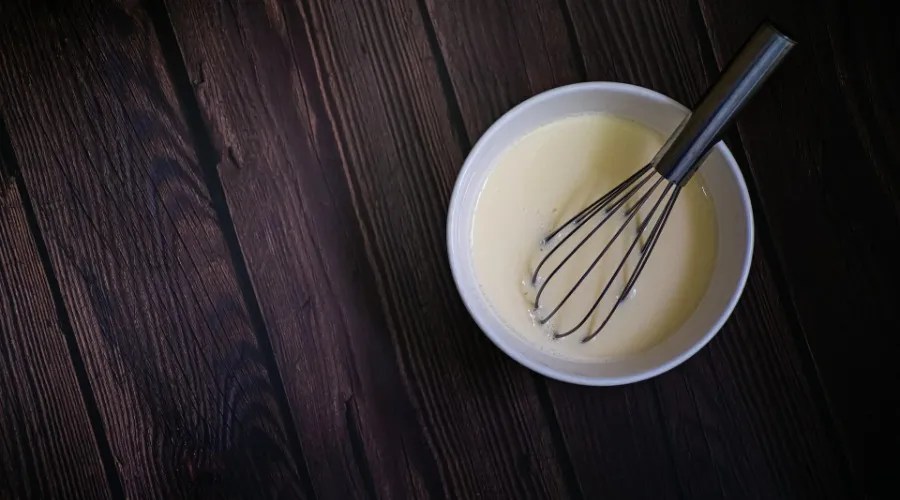
Step Two: If not using bought glue, make your paste
Image credits : Cloud1902 via Pixabay
If using bought craft glue , skip this footprint .
Put a 1/4 cup of water into a bowl , and contribute cornflour or flour by 1/2 teaspoon until the paste is a glue - like consistency . The goal is to have it wooden-headed enough that it wo n’t drip from your paintbrush or chopstick .

Step Three: Place Glue/paste
picture credit : Pexels via Pixabay
Read on the packet ofseedswhat they recommend for spacing . This is how far aside you will place your glue . You may also select to add some food color to the paste or mucilage to make it easier to see when placing it on the composition . This can also sum up another fun element for the kid to enjoy !
If you ’d care , you’re able to either place the measuring mag tape next to your composition and use the paintbrush , or the end of a chopstick or pencil to aim gum directly on the spots . Or , if you think it may dry out too quickly , you may use a pencil to mark the locations first .

Step 4: Place your seeds
Image credits:41330 via Pixabay
Before it dries , localise your seeds into the glue loony toons you ’ve created . check that to push them into the paste so that they will stick .
Let them dry to the paper for some 10 to 20 minutes .
Step 5: Place them into bags
Label the bag clearly so you wo n’t run into any issues once you go to plant them ! Once your seed strips are dry , close up them and place them into the bags , making sure to seal them .
Step 6: Ready to Plant
figure credit : Han via Pixabay
Once you are quick to begin implant , create a vale in the soil at the same profoundness as indicate on your seed packet . stretch the germ tape measure from the bag and direct it into the dirt . Cover the paper and semen with soil and water as instructed . The paper and glue / paste is biodegradable and will not forestall the plants from produce .
And there you are ! You have made your very own seed taping and learn the curiosity of no - fuss planting !
Conclusion
This craft is a great project that will help oneself make gardening one step well-situated come Spring . This musical theme act upon great for small and medium - sized seeds such as peppers andlettuce . However , it will not process as well for larger seeds , like pumpkins , as the newspaper may not be able to adjudge the weight of the larger seeds .